Before heading out to the workshop, I had to stop in at 'Tyres for Bikes' as apparently my oil pump drive gear, which i broke many moons ago, has arrived! Now I can put my engine back together after a long wait. After a social morning there catching up with the guys and another motorcycle travel friend I hadn’t seen since last year, I hit the workshop once again.
It had been six weeks since I first ordered the part and a couple of weeks before that when I started stripping down the bike. So I was feeling a little worried I wouldn’t remember where everything is and how to put all the pieces of the 3d jigsaw puzzle back together. Slowly piece by piece it fell into place, thanks for my careful labelling and storing of the parts.
Taking a brain break, I grabbed my rusty muffler. I gave it a good brush, removing any loose rusty spots and hard wedged in dirt with the wire brush. Once it was completely clean, I take it out side and spray it with high temperature resistant paint. Coating it evenly, I leave it outside to dry.
While waiting for one side to dry, I thought I would clean something else, grabbing the degreaser off the shelf. I spray it all over the item. Bouncing off the piece, the degreaser lands on the freshly painted muffler and destroys my good handy work.
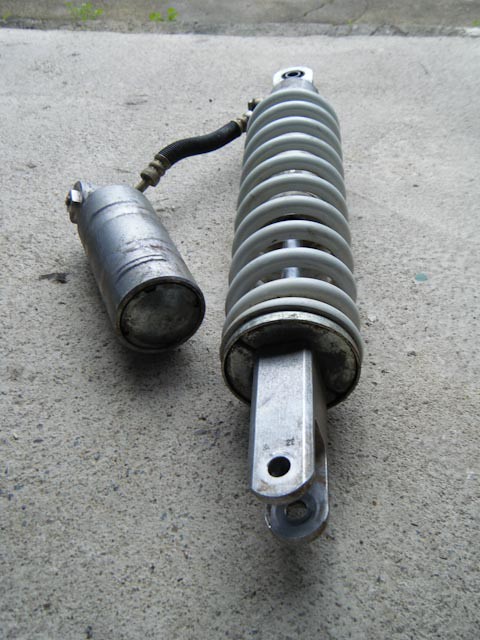
I had sent off my rear suspension to ‘Vince Strang Motorcycles’ to be reconditioned a couple of weeks ago. In order to put this bike on the road, I needed to borrow one of my other DR. Pushing it into the garage I hook it up to the gantry next to my other bike and began to remove the rear end.
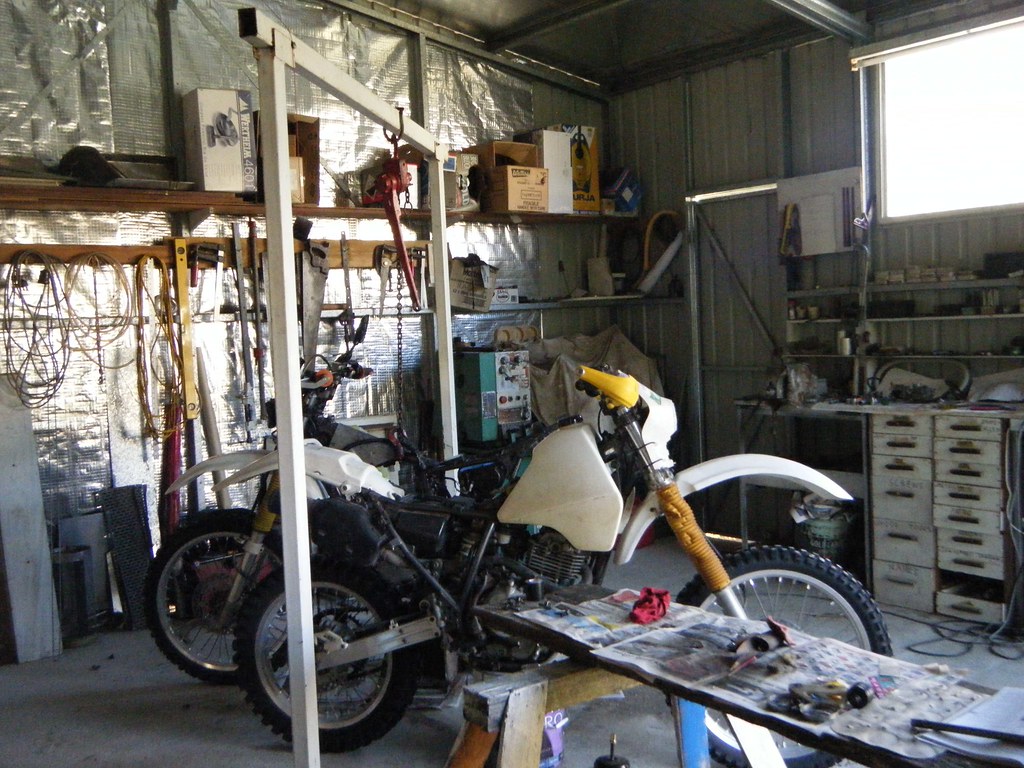
Once I had the suspension in my hands, I then proceeded to install it onto the other bike. With the rear suspension and swing arm installed. I was able to roll it off the old nail create and bring it out to more of a useable and safer workspace.

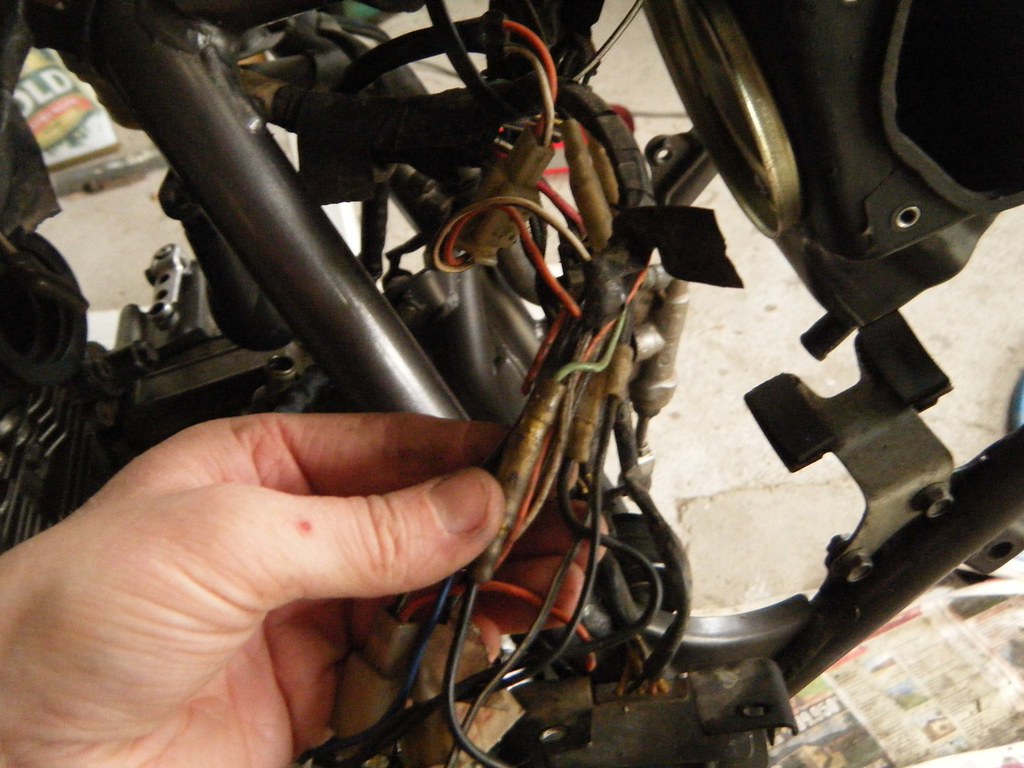
Stripping back all the old electrical tape, I rewrap all the wires in fresh clean tape. As I try to tidy up the wires as I go, I find myself pulling more and more apart creating more of a mess then actually tiding it up. Eventually I come to the end and I can go back and put all the wires back into their zip ties and flatten it all back down.
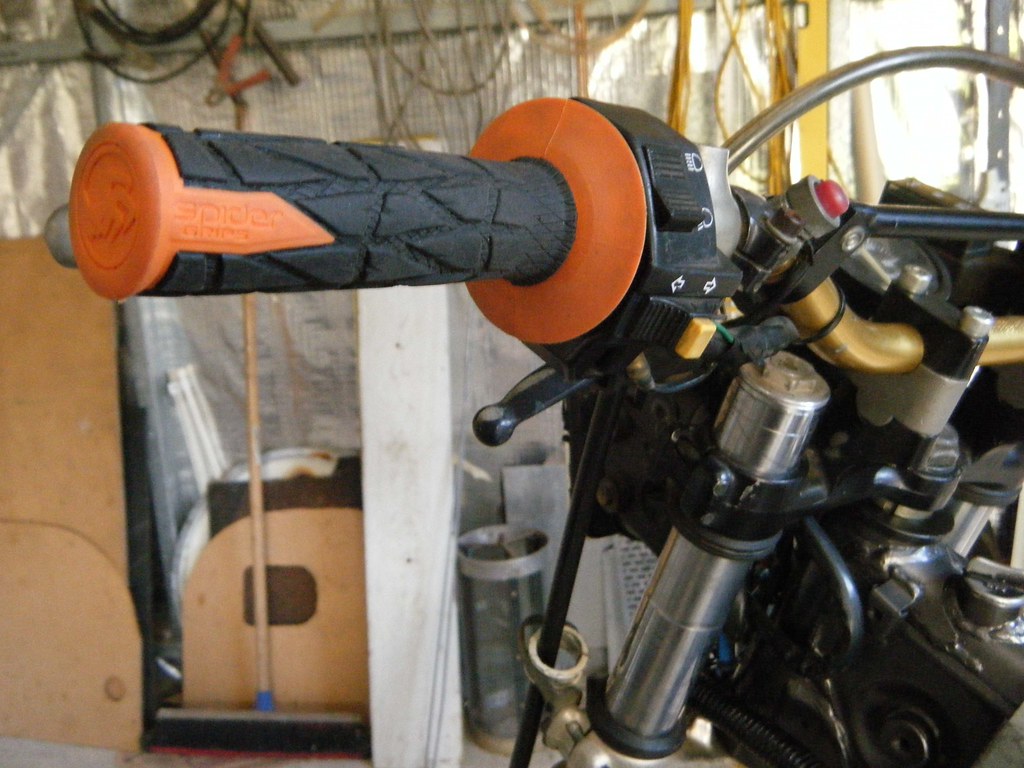
The pieces fell to the ground as I cutting the tired old grips off my handlebars. Cleaning the surface from years of built up glue and dust. I then had the hard decision on what colour to start out on! Pulling from the pile a hot pair of orange ‘Spider Grips’, I then begin the battle of the handlebar verus my hands! I’ve never had to do this myself before, so I was quite surprised to find my hands stinging after a few minutes of squeezing the ‘Spider Grips’ onto the handle bars. Eventually one was on, but my hands we useless to do it again. So I took a break and an hour later I returned for the next one. For some strange reason this one went on a lot easier!
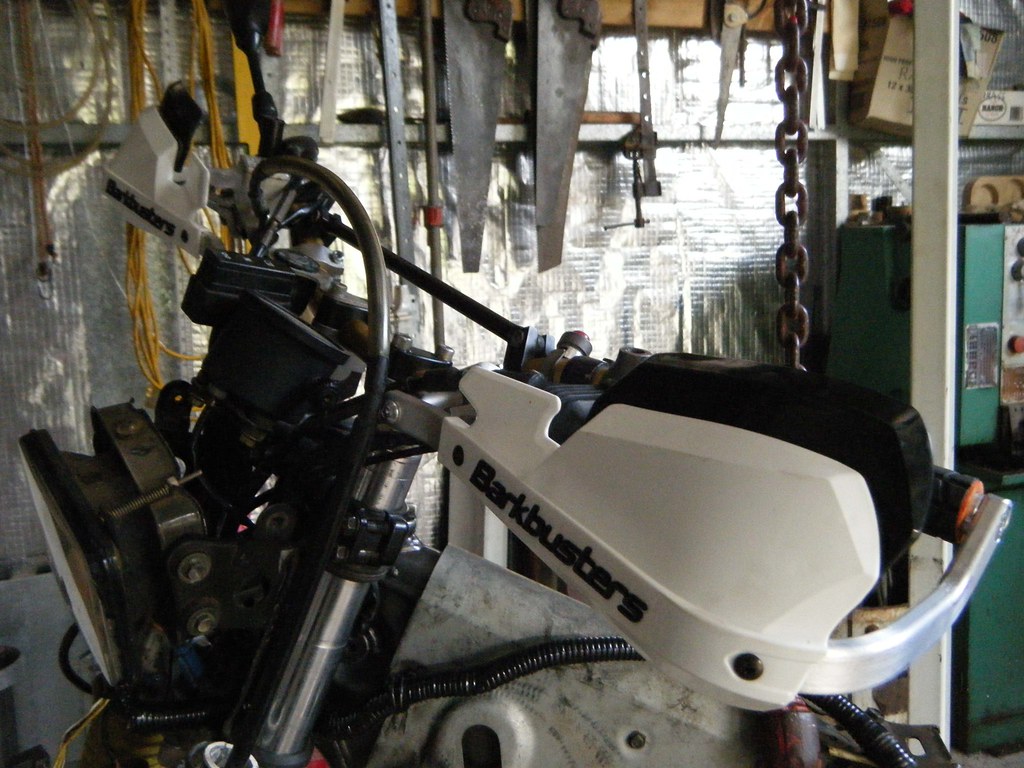
Cutting of the ends of the ‘Spider Grips’ off I slip one end of the ‘Barkbuster’ into the hollow of the handlebars to hold it into position while I tighten the socket head cap screws to the brackets into place. After I adjust them to the perfect height I go back and tighten all the screws.
My handle bars are now looking and feeling pretty amazing, like a bike that’s about to see some action.
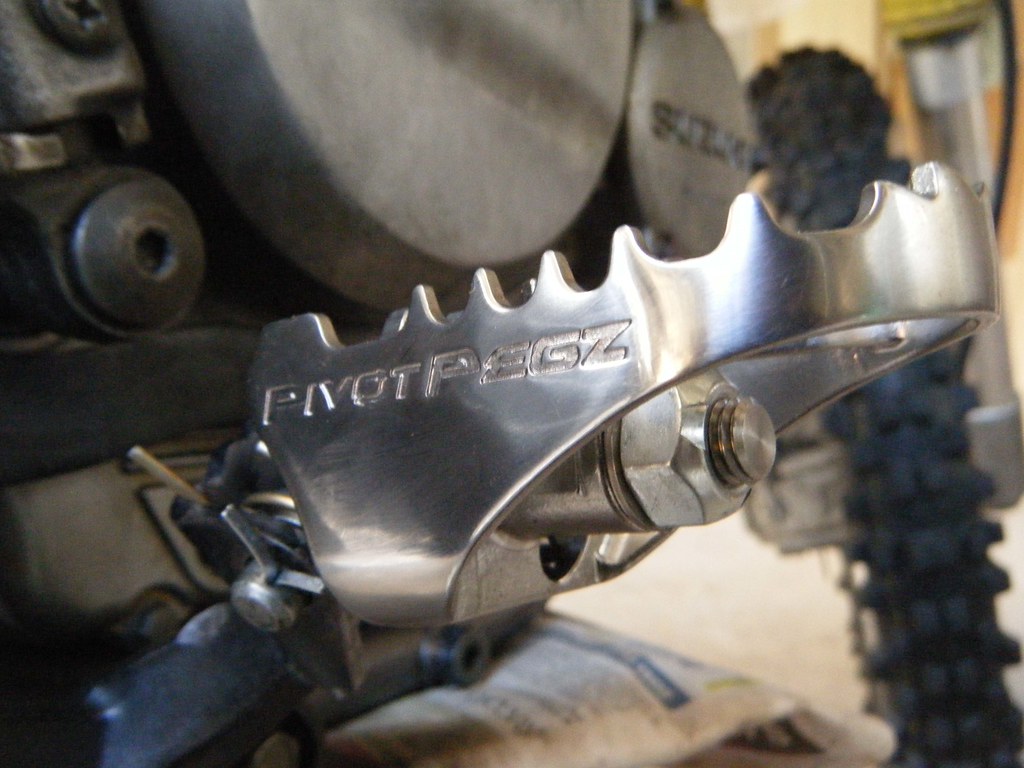
Removing the old rusty pegs from their mounts, I try to work out how to install the ‘Pivot Pegz’. By doing it all on the workbench, I had made it all that bit harder for my self. I know the pegs and mounts have a direction. Trying to match the sides up deemed painful. When I thought I had it all worked out, I went to install them on my bike, to find I had buggered up in my thoughts and had to swap them over!
Next time, I think I’ll change them over on the bike!


No comments:
Post a Comment