
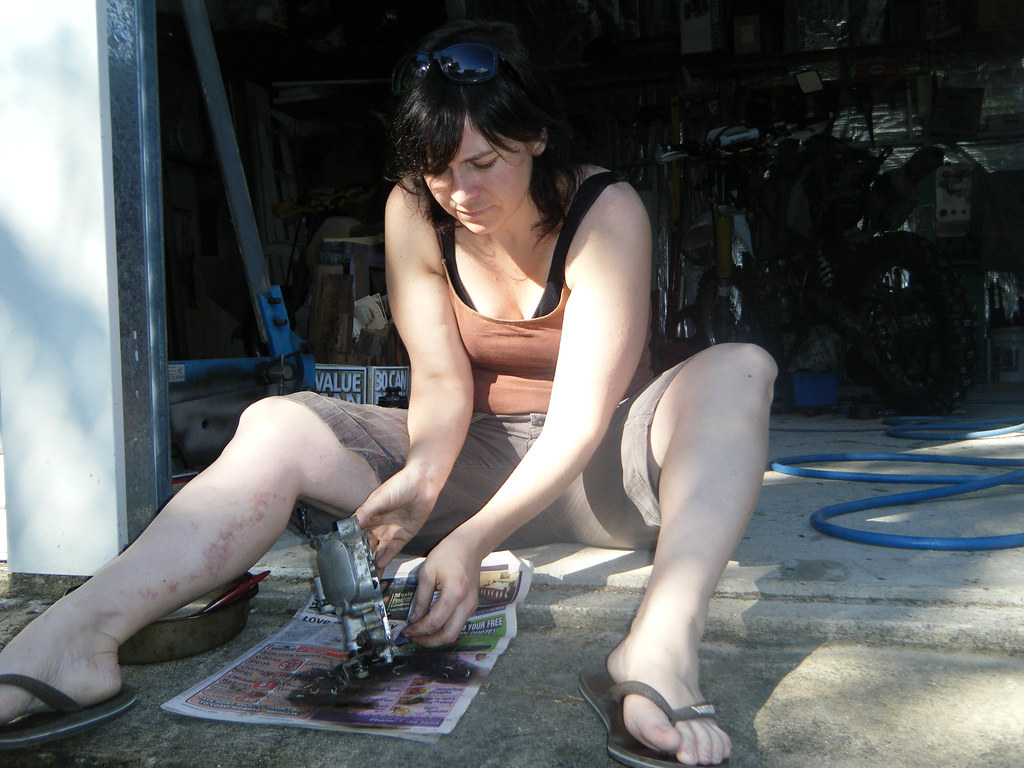
With a week to fine-tune my plan, I was back kneeling next to my motorcycle. Below me, I line my tools up with high hope of sustaining tidiness. Piece by piece I strip the engine down. Removing each piece with total care, while paying attention to every detail. I slid each bolt into its corresponding hole on a piece of cardboard mapped out to match the true location of the engine. Removing in the only order possible, working from the top down, I removed the head cover, the head, piston cylinder and the piston head and any everything else attached or in the way of the deconstruction.

Starting on the lower end of the engine, I remove the clutch cover to expose the clutch and lower cam chain sprocket. Giving my self a small treat, I pull out the impact driver, removing all the tiny bolts to release the clutch basket in no time at all. With one quick glance, I could see that the pervious owner told the truth and had replaced the clutch and basket recently.
Putting it aside I reach for the large socket and the half-inch drive placing it on the cam chain nut, I start to turn it counter clockwise. Failing to turn anything but all the cogs, I jam a screwdriver into between the oil pump drive gear and the cam chain sprockets. With one heave on the drive, I see the spanner fly out and skid across the workshop floor. Laughing I pick it up and replace it back in between the teeth, I try again. Again, it flies out with an odd pining sound. Frowning I look at the oil pump sprocket to discover I had broken one of the teeth off. Annoyed at myself for breaking the sprocket unnecessarily, I pulled out the impact driver out again. Within seconds, the nut was off the shaft and I was able to remove the cogs and sprockets.
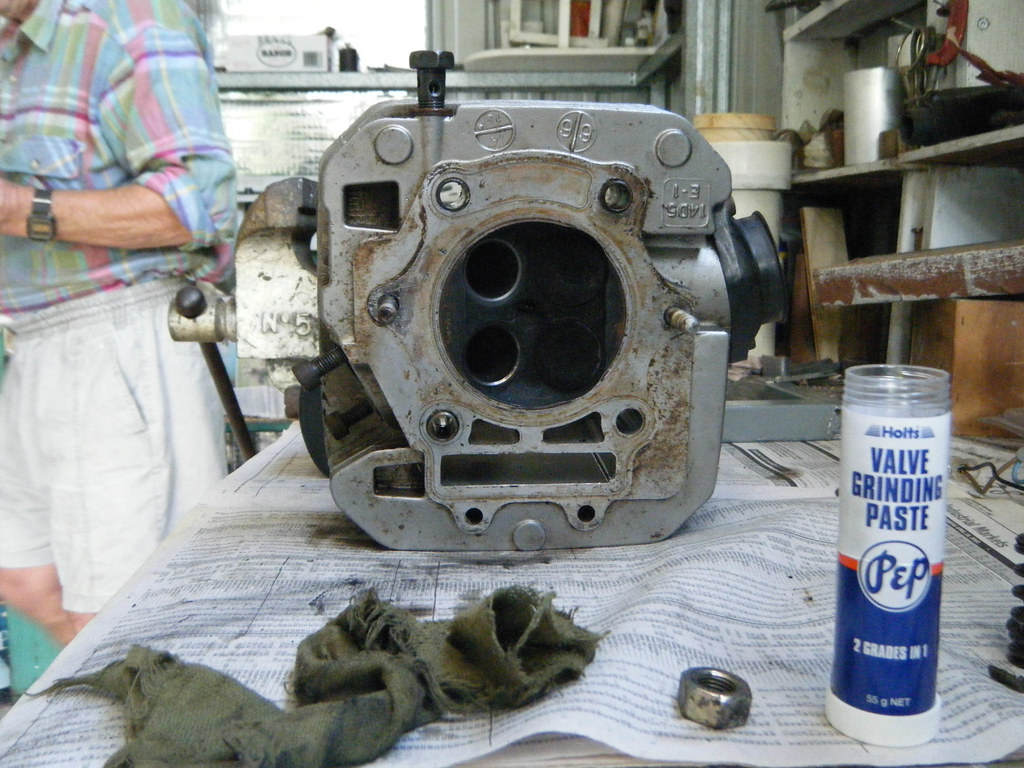
Len spots tiny pitting around the valve head, which becomes more evident once we put it into the lathe and give it a good clean. After a quick trip to the auto shop, I now have cutting compound, which we lightly put on the valve head and reinstall into the shaft. Using a cordless drill, we turn the head backward and forwards letting the cutting compound grind a new flat surface. After a close inspection and a wipe down with a clean cloth. The valve head and seat come up like new. Now its time to re-install.
Moving down, I check the piston head and rings. The head has the usual carbon stuck to the top of the head but this time, it is malleable, therefore quite easy to clean off. Again using the callipers, I measure the piton head diameter, the piston ring grooves and compare the clearances permissible. I discovered that the top piston ring had lost its spring and had a larger gap then what is tolerable. Taking the bore, into the sunlight to inspect the possible wear, or not wear in this case. It even had the original cross-hatching of the factory honing. This meant I only had to give it a quick light swipe with a hone to ensure it was round and had no major pits. Setting up the hone in the power drill, we swipe the bottom of the cylinder just to check we are on the right path. Seeing that we were not taking too much off, we carry on completing the tidy up of the entire bore. I then clean out the bore using several paper towels until the towel showed no dirt.

No comments:
Post a Comment