
Last adventures pannier frame
Ever since coming back from my last adventure, I have been contemplating why my frame didn’t fail but my pannier bags did. Most people complained about how they had to weld their rack up several times over the course of their journey. However, I had absolutely no trouble at all with my rack. It held up against all odds, several big crashes, people pulling and lifting the bike from it and of course the day to day extreme use over a variety of unpredictable terrains.
I have to remember, when I first set out on my last adventure. I only had just learnt how to ride a motorcycle and got my motorcycle licence. Over a course of six months, I learnt how to maintain my motorcycle, and design and build my pannier racks and toolbox. Therefore, right from the start I knew I would probably be able to develop my design at the later date.

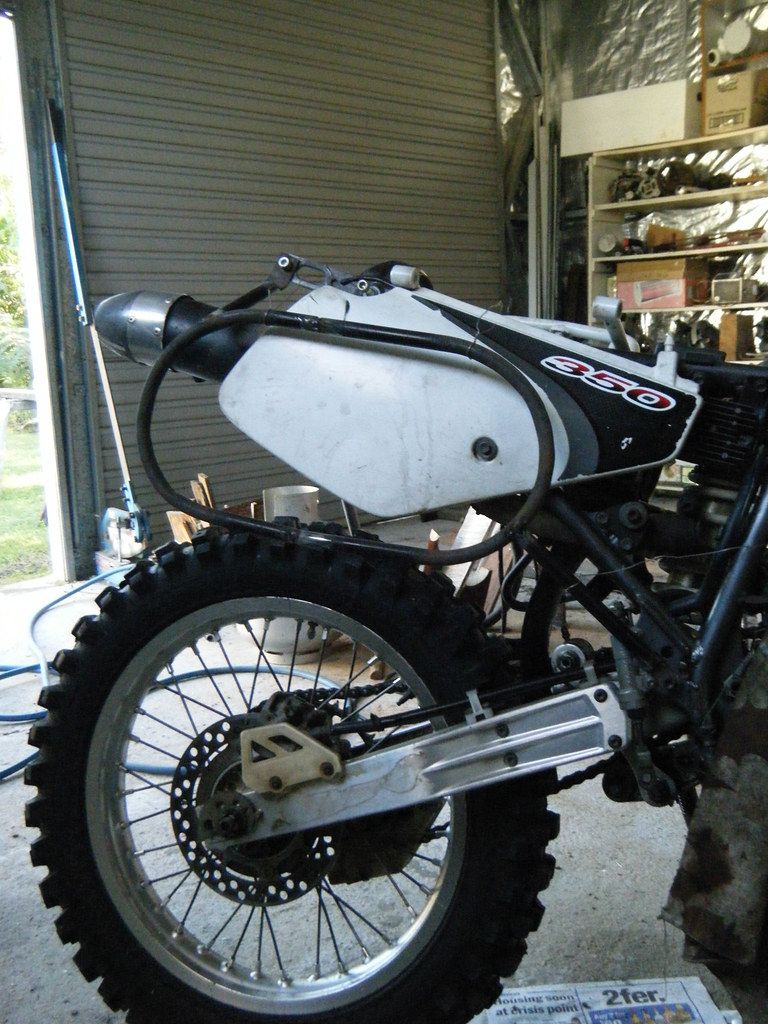
The top image shows the area of strain. The lower image shows the way the bags hang and want to pull down towards the rear wheel.
I started sketching out my ideas trying to develop on my existing design and incorporate extra storage for tools and spare parts. If I can remove that particular, weight and bulk out of my pannier bags. I would hope that it will lessen the wear on the bags.

Rear and front pannier and tool box design, based on my old rack design.

Study looking into where I could put the extra storage.
One of my major dislikes to my old tool box location was that, every time I got a flat tire, I had to laid my bike on it side to fix it. If I didn’t remember to remove my tire changing tools before hand I would struggle to get them out. I needed to find a more convenient place to store them. I started thinking about storing them on my front fender. Which means that no matter how I put my bike down I will be able to access my most used tools.

Front toolbox for storing tyre changing gear and a spare tube.
While I was trying to work out the best pannier system, I had to think about the best material to make it out off. I could use the same 12 mm steel square hollow section. Even though this section had a small curve on the corners, I still I wrapped it in rags and electrical tapped to stop any wear on the panniers it self. Once a month I found myself tidying up the ragged ends, trying to make my bike look more presentable. Even thought this was relatively low maintenance schedule I still didn’t want to have that chore again.

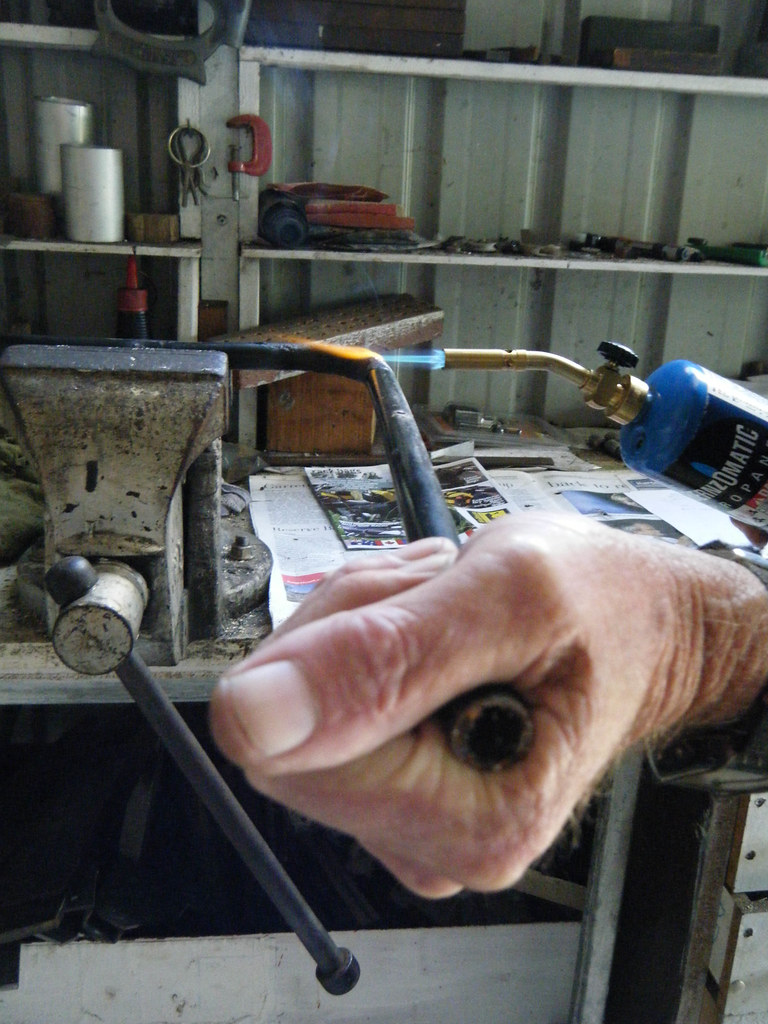
Len and I spied two tatty old fold up chairs, where the material had faded badly, and border lining tearing apart the next time someone sat down on it. Removing the fabric, we get the testing of the steel underway. To test the metal, we go through several very scientific tests. We begin by squashing one end in the vice, followed by a welding test then we heat it up with our gar torch and bend it. After these tests, we conclude that the metal would be perfect for my pannier frame.

First design of rear pannier frame using the existing rear rack as a connection point.

Design Two – By making each corner curved for strength which means I can remove the angle brace
I then thought about how I could loose some more weight out of my rack. By curving each end, I found I could remove the angle brace since the curves will take place of that. The only issue now was how I curve the metal. After much discussion, my uncle finally agreed with my theory of heating it with our gas torch.

Using a thick builders pencil to drawing out the design, at a one to one scale on piece of used particleboard. We now had a template of the major part of the pannier. We will use this to hold the bent pipe to and compare the curve. Locking one end of the pipe into the vice, we heat the metal one inch a time bending consistently until we got a half circle. Repeating this action four times, we now had all the bits to make each side.
After allowing the pieces to cool, I place them into ‘best fit’ pairs and laid them on the template. From there I decided where to cut them to length. I mark them and lock one into the vice. Picking up the grinder, I use it to put it down to length. Once I had cut all four pieces, we insert a joining rod inside the tube and my uncle Len spot-welds them together.

Using our trusty sky hooks (a piece of bent wire hooked over my bike seat), I positioned it against the bike. Measuring from the ‘O’ shape to the sub frame connection points, we cut and file down the ends to ensure the best possible fit to the ‘O’ and the motorcycle. Len also welded these onto the ‘O’ shape and we fitted it into position using sock head cap screws.

Before I can work on the other side I have to first work out how I was going to do my rear tool/spare parts box. I had made an aluminium box several months earlier, but I personally wasn’t completely sold on the idea. As most of you would know, aluminium is a very soft metal, which when rubbed often it can wear through. It has also been known to crack. To find someone who is skilled to weld aluminium is generally very difficult. I would like to explore other options before I can carry on with the rest of my pannier rack.
No comments:
Post a Comment